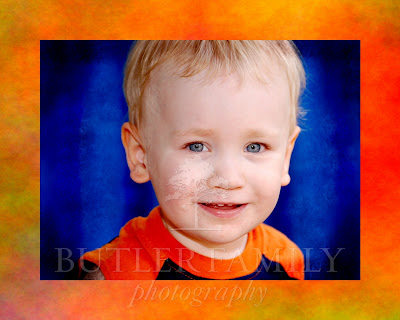
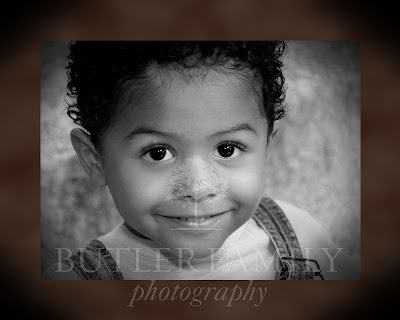
Recently, we were invited to a special joint birthday party for these cousins, and I had a great idea for a gift: custom 8x10s. Since I already had photos of the 4-year-old boy, I concentrated on getting a good photo of the 2-year-old while he was visiting his cousin a couple days before the party. What a surprise his mom had in store when she helped him open his gifts!
My idea was to create a portrait that was immediately frame-able, no matte required. I thought it would be fun to create the illusion of a 3-dimensional matte with borders and vignettes. Here's how I did it.
1. The original photo was darling, but needed a little help to make it "pop." (That's a fleece blanket in the background hung over the railing. I'm all about impromptu backgrounds.)
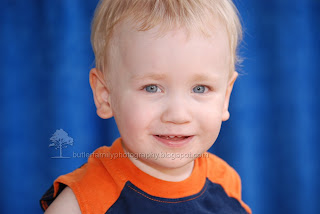
2. After saving the photo to my computer, I played with the levels a bit to bring out the vibrant colors in the boy's eyes and shirt.
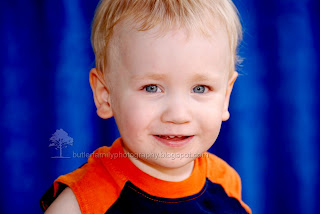
3. I created another file for the 8x10 print and used the color from the boy's shirt to fill the background. This would eventually become the "matte" border of the 8x10.
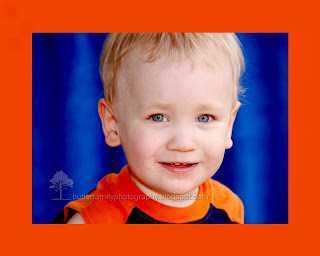
4. On another layer, I dropped in the photo of the boy and cropped and resized it so there was a 1" border around the 8x10. Thank goodness for guides! They make measuring easy.
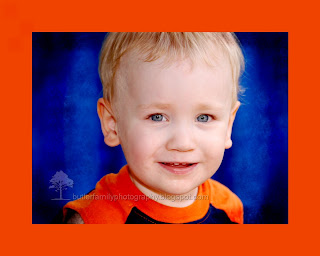
 5. Then came the fun part! I created a vignette using the burn tool and a fun brush shape. Although I could have done the vignette with a dark oval and feathered edges (like I did on his cousin's portrait), I wanted this one to have a rougher look. So I did the vignette by hand (well, actually, by mouse). I also dodged a bit of the background to make it blend in better.
6. Finally, I used a pattern and then a filter to create a more interesting texture for the border. And ta da! It's done. (It took me about an hour to do all of this.)
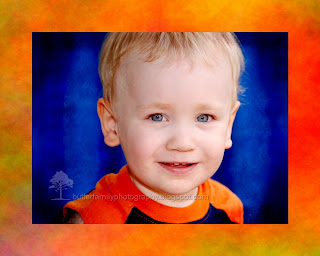
I used the same basic method to create the second custom 8x10, and yes, their parents loved them! (And I had so much fun doing them!)

No comments:
Post a Comment